MY 2D ANIME STYLE PROCESS

In this blog , i would like to introduce my 2D illustrator process which i usually do for my special artwork. We are going to step by step right now.
STEP 1
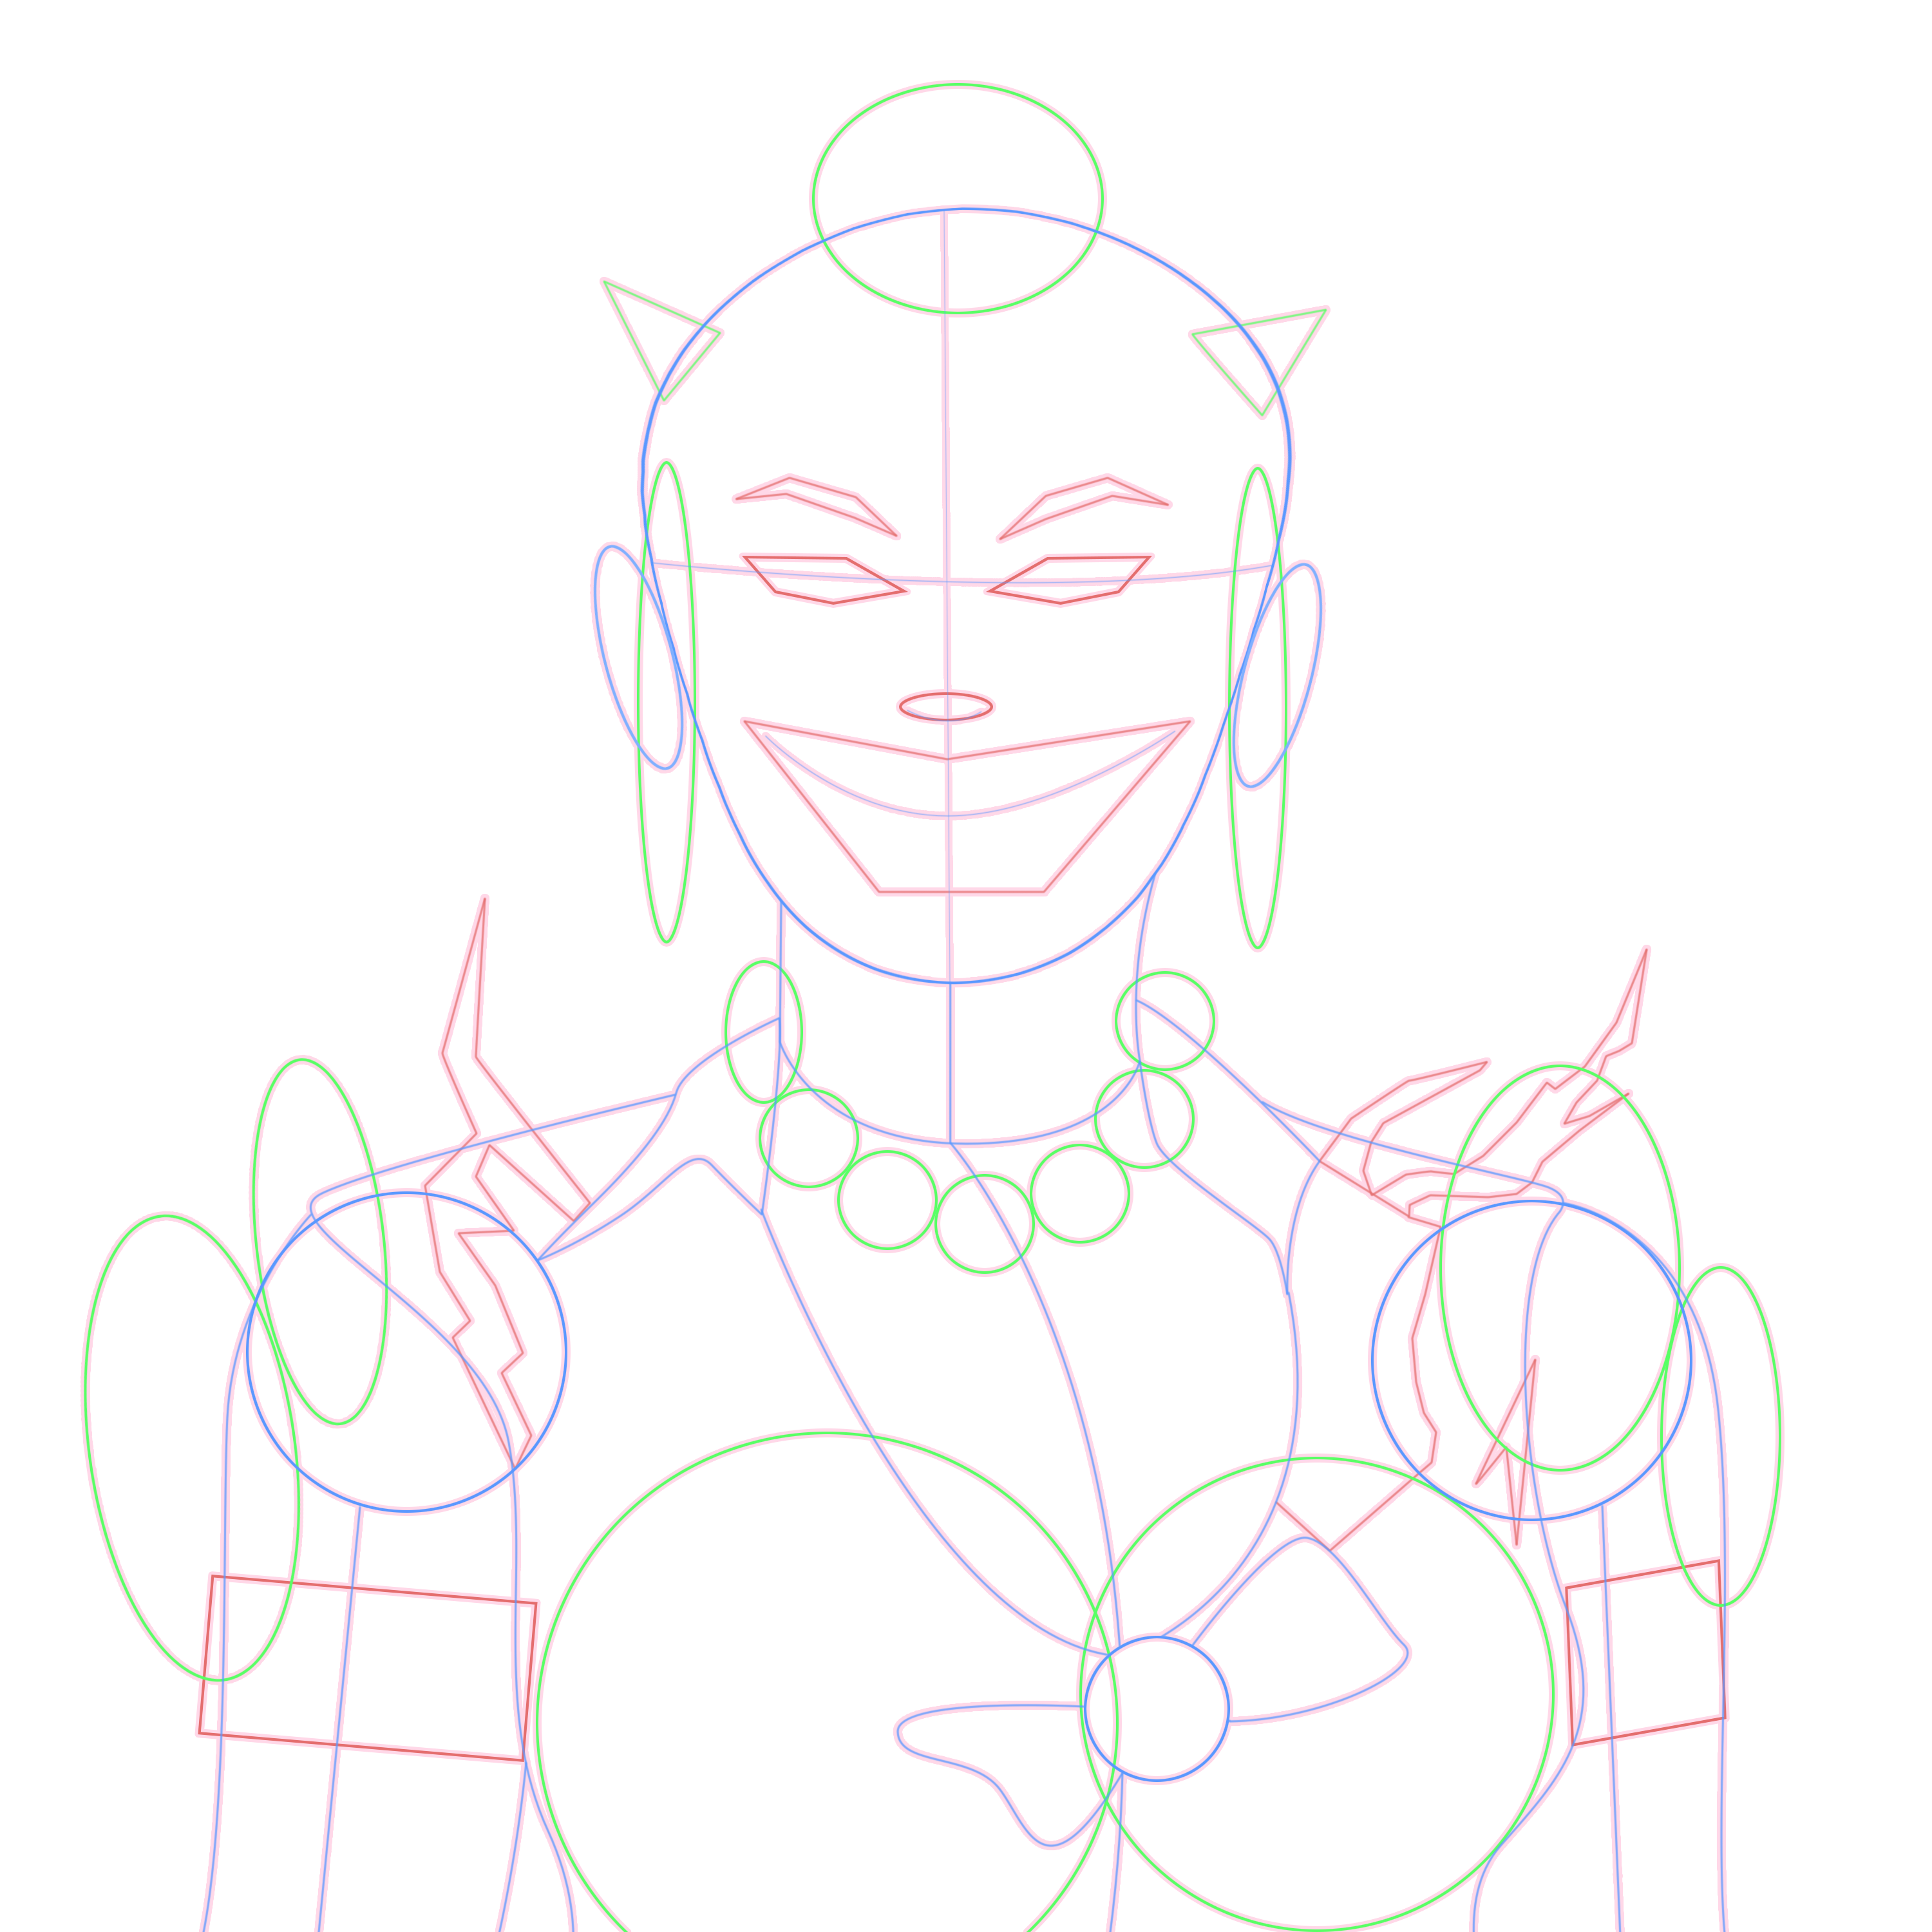
Firstly, i need to ad particularly shape that match my big idea which include circle shapes, triangle, rectangle… Every shapes need to work together to show the big picture. For example Upon, that alot of particular shapes but totally describe a character that very clear and simple.
STEP 2
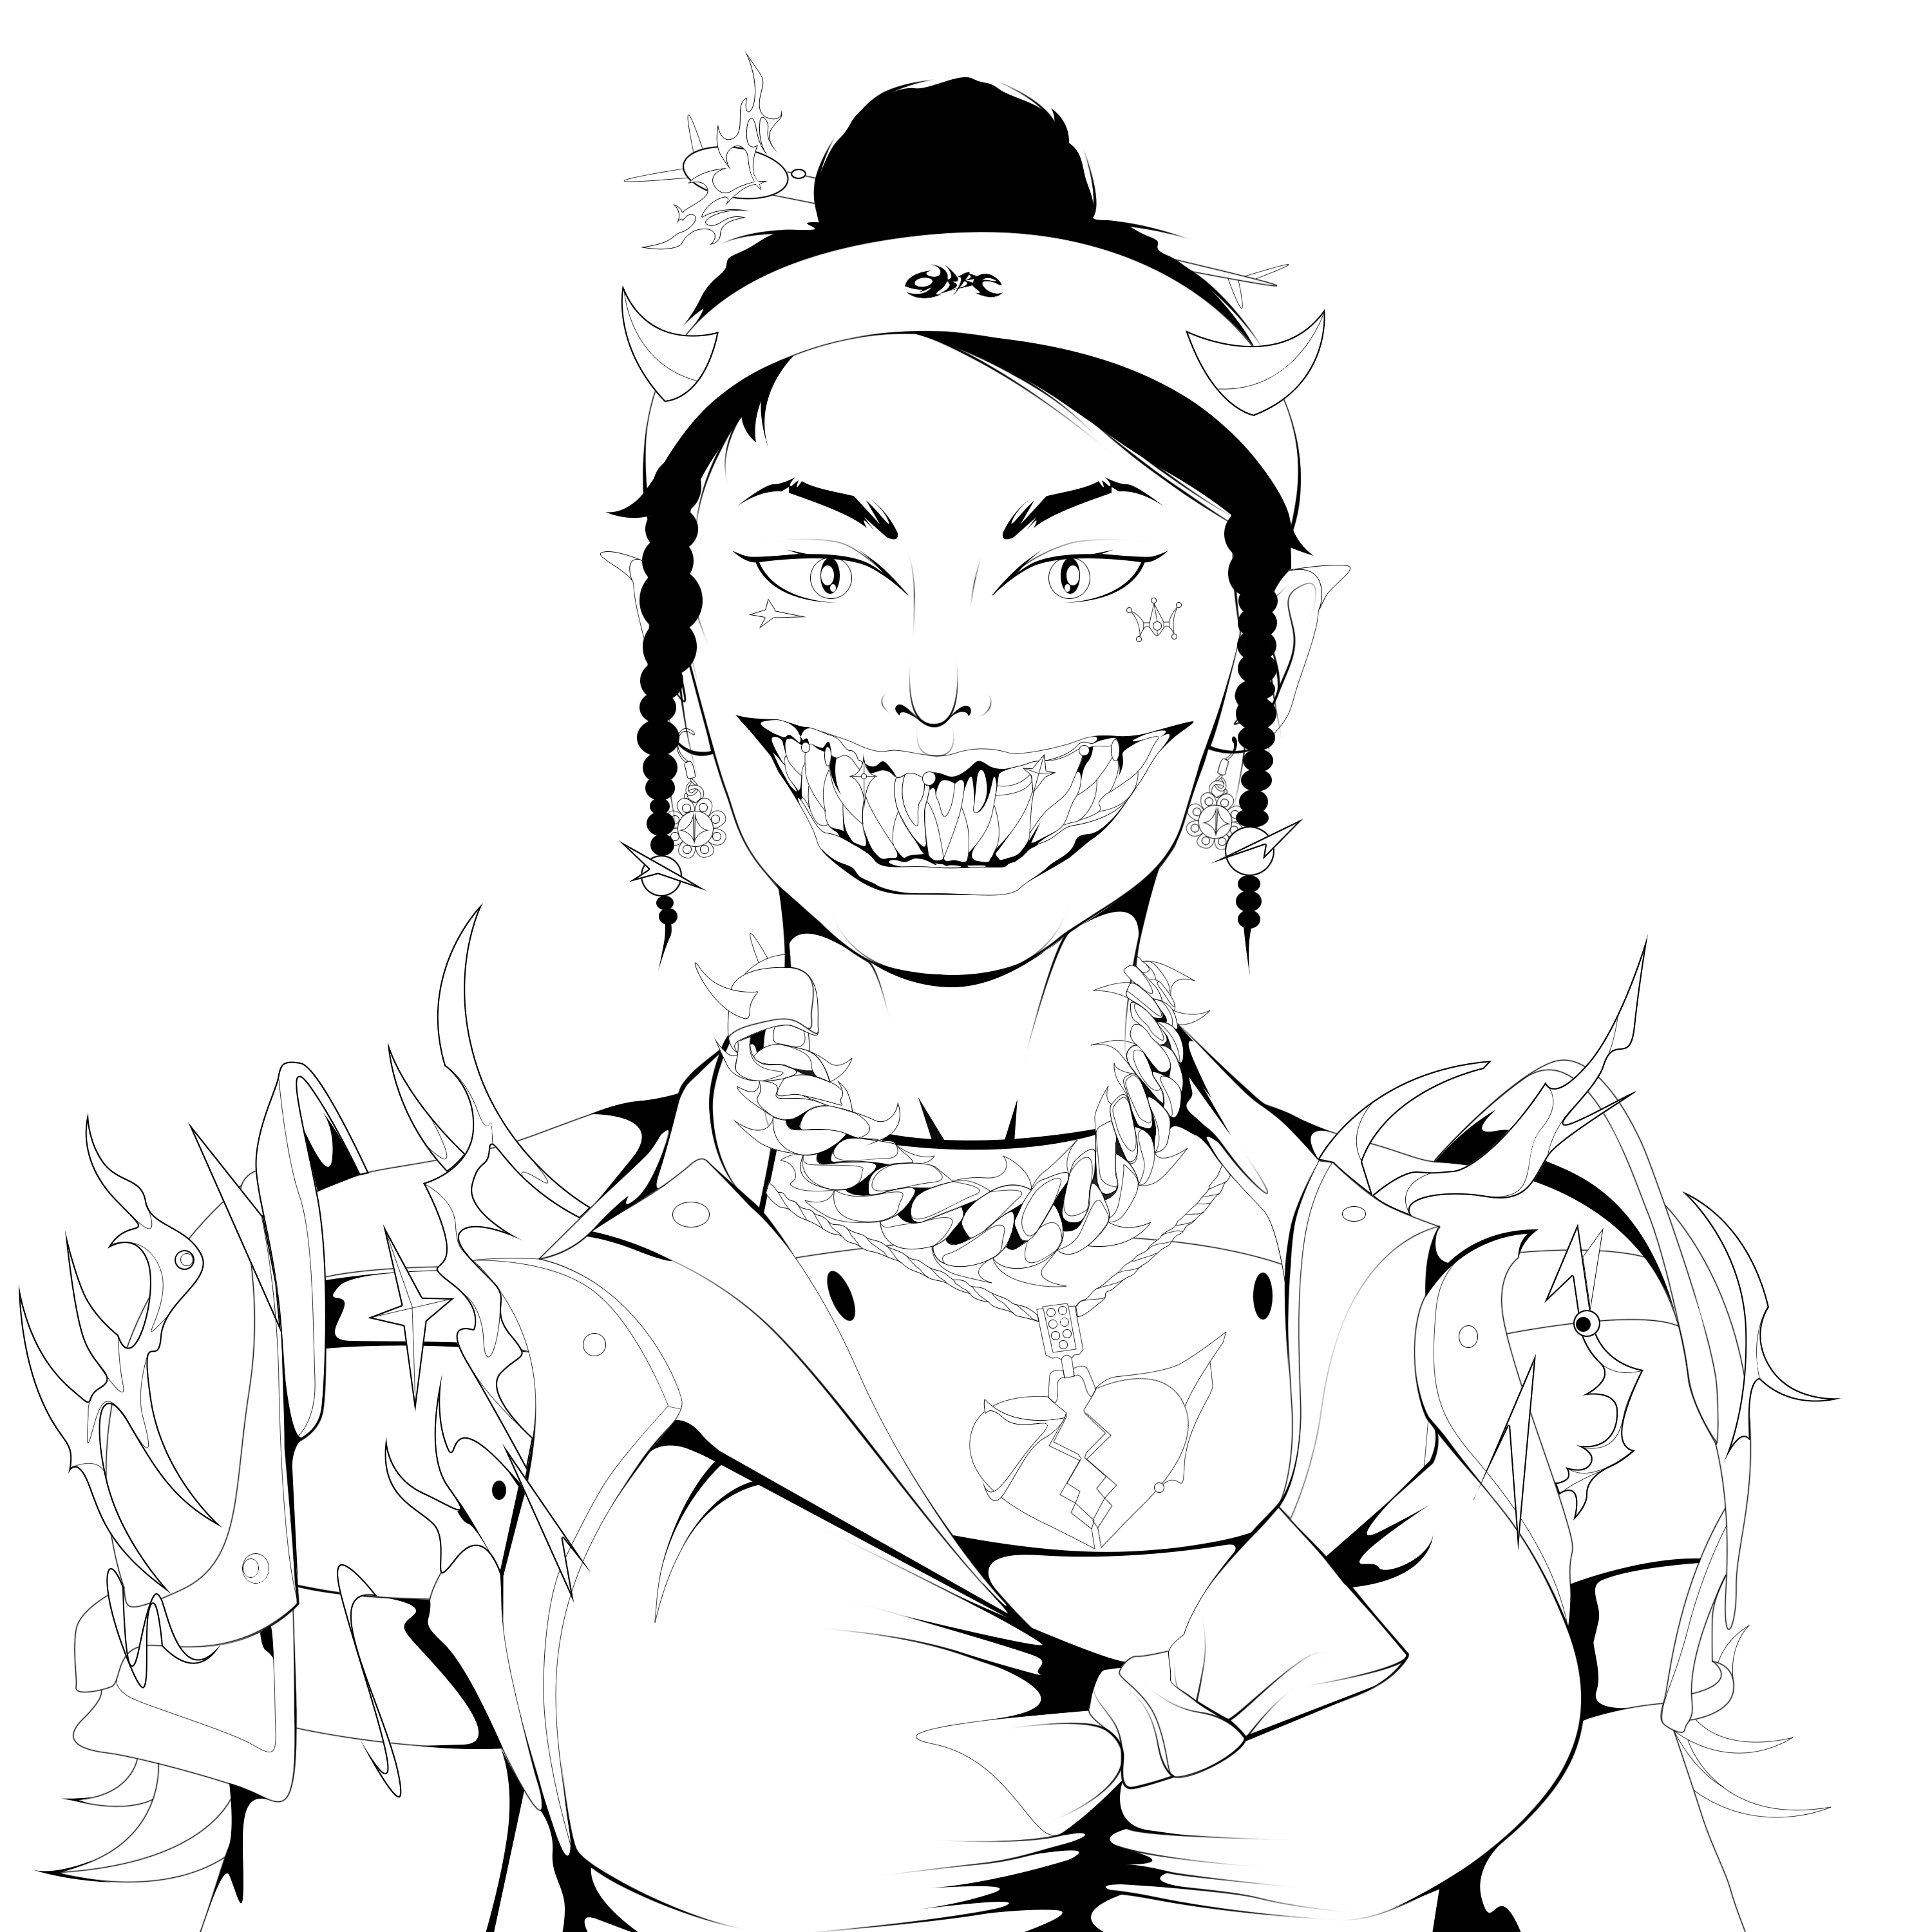
Secondly, I need to ink those total shape that really in detail and it should be realistic as much as i can but still match my style ( anime ).
STEP 3
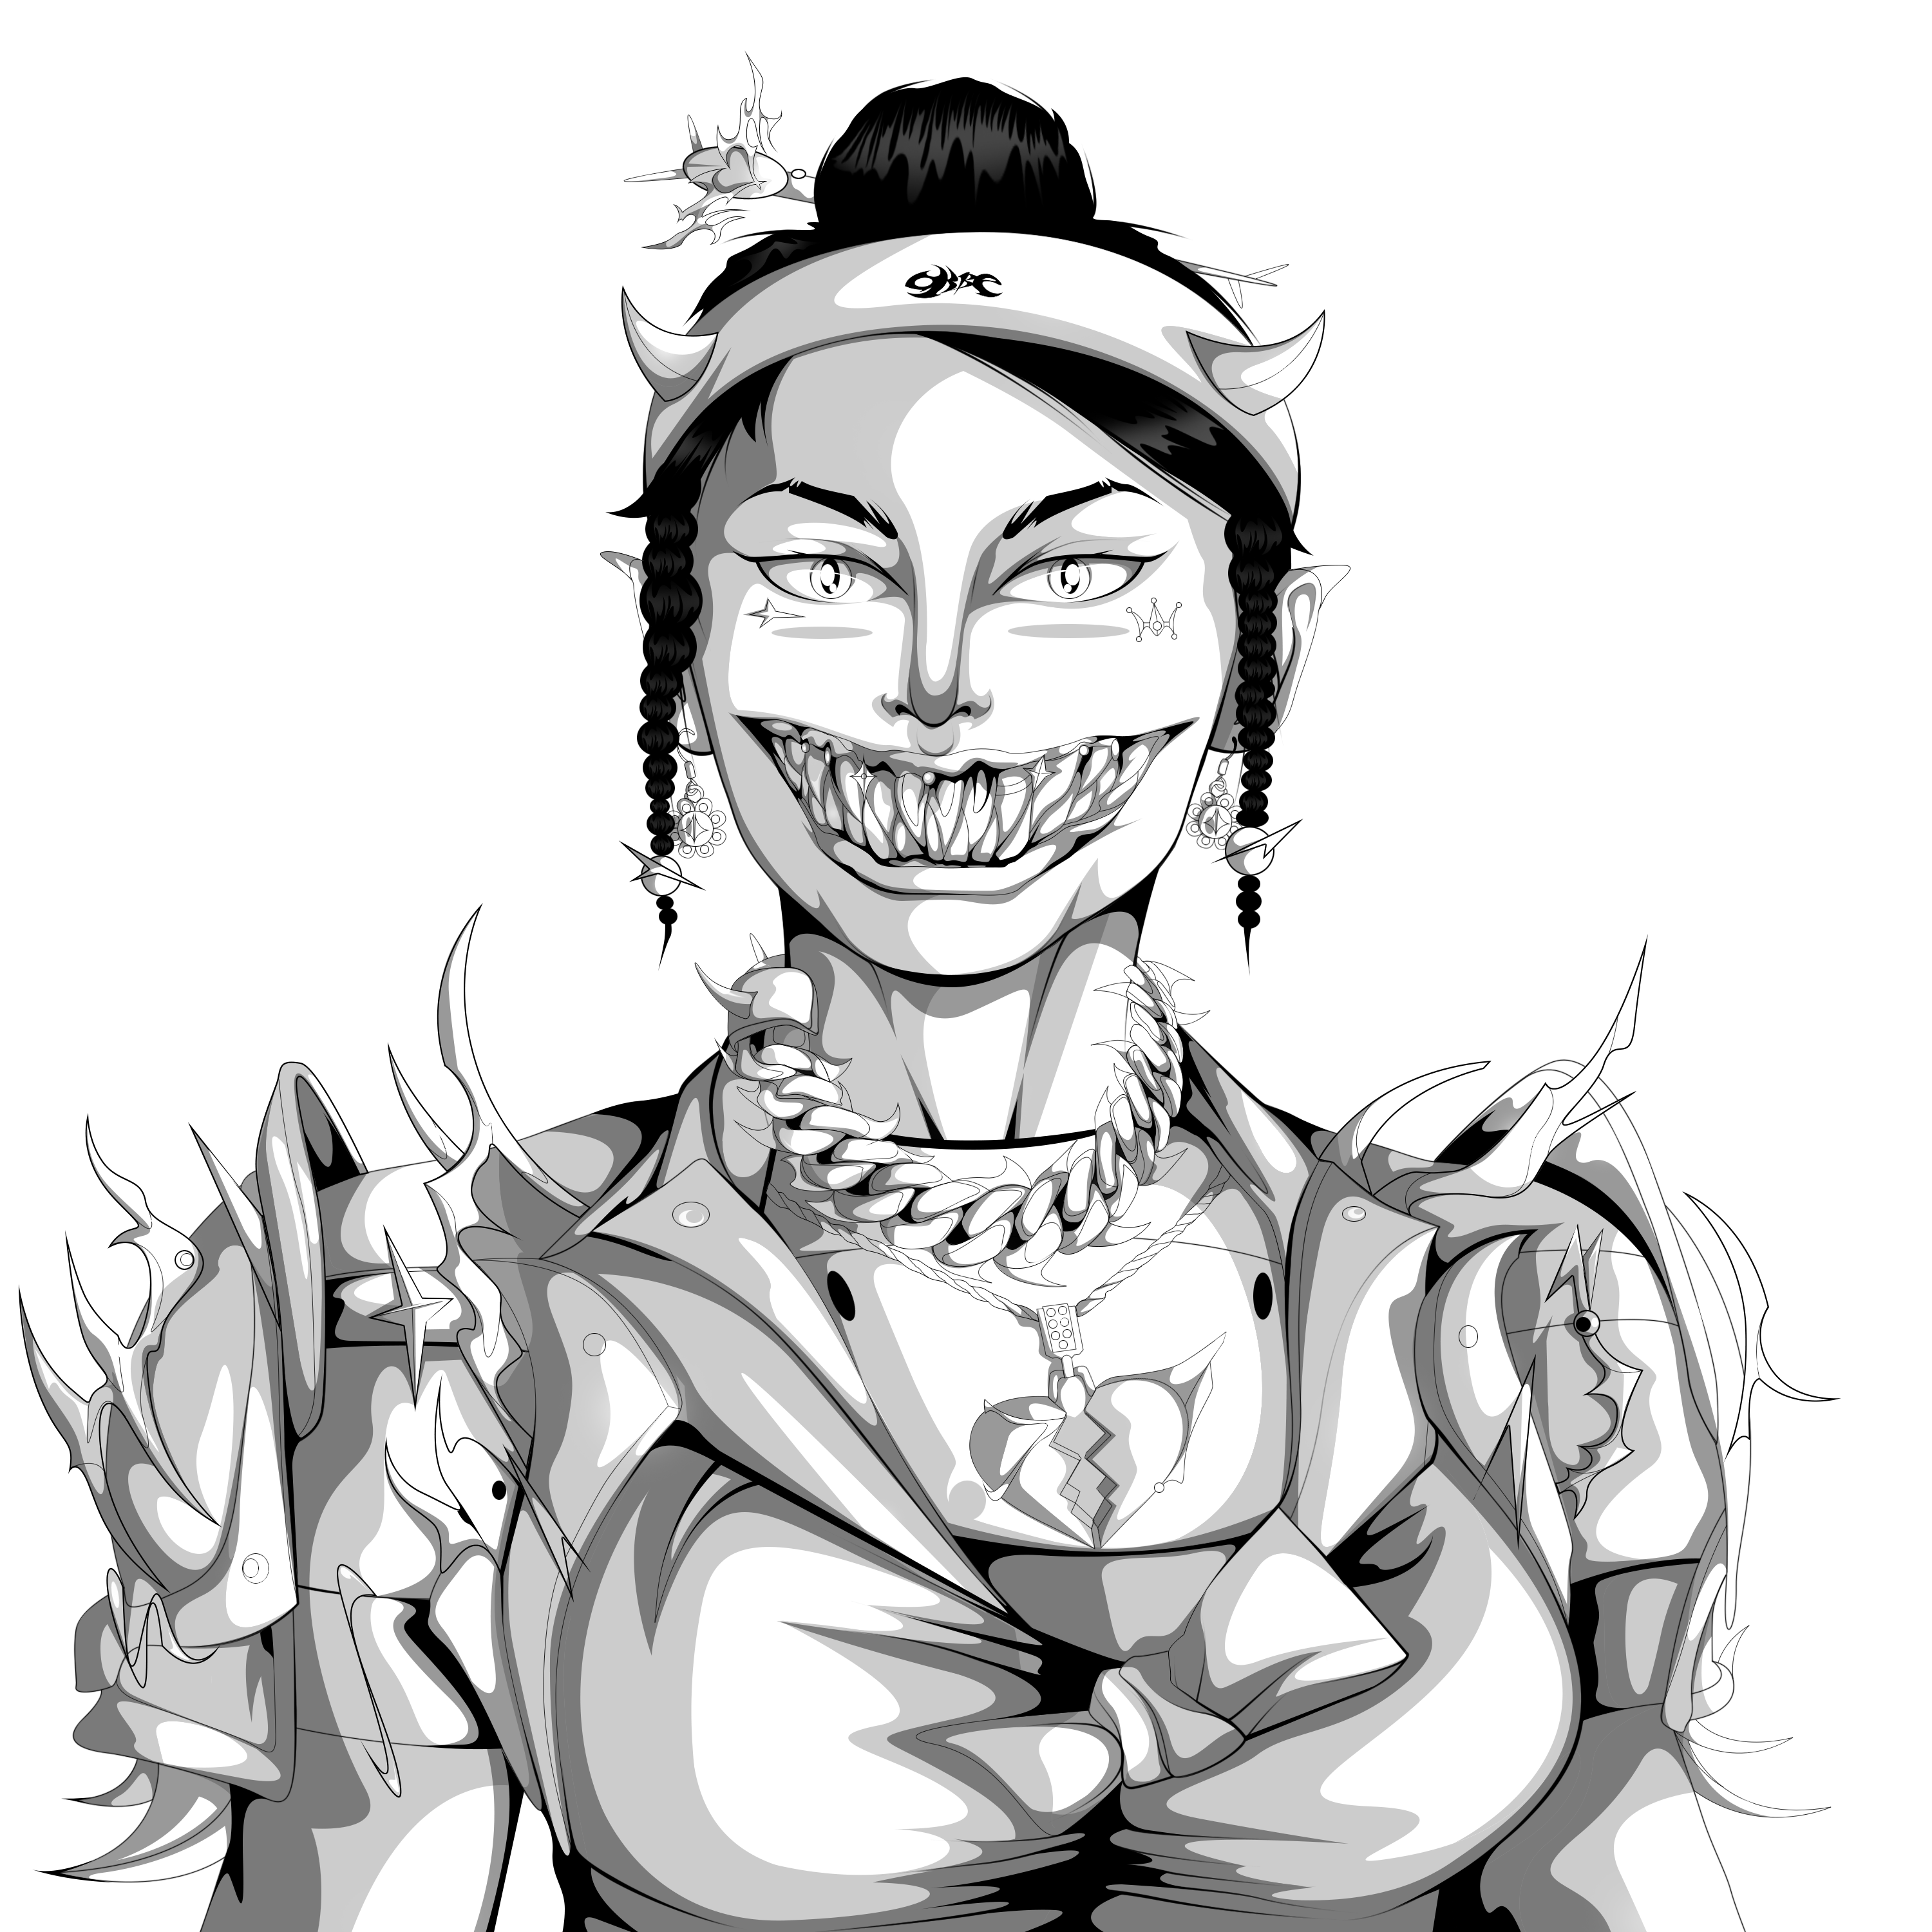
Thirdly, I need to add shadow for my artwork which has level in it that go from bright look to dark vision. In this part, we definitely need to understand where is the light come from. For example follow the image upon, the light came from right side so we need to add the shadow right in the left side.
STEP 4
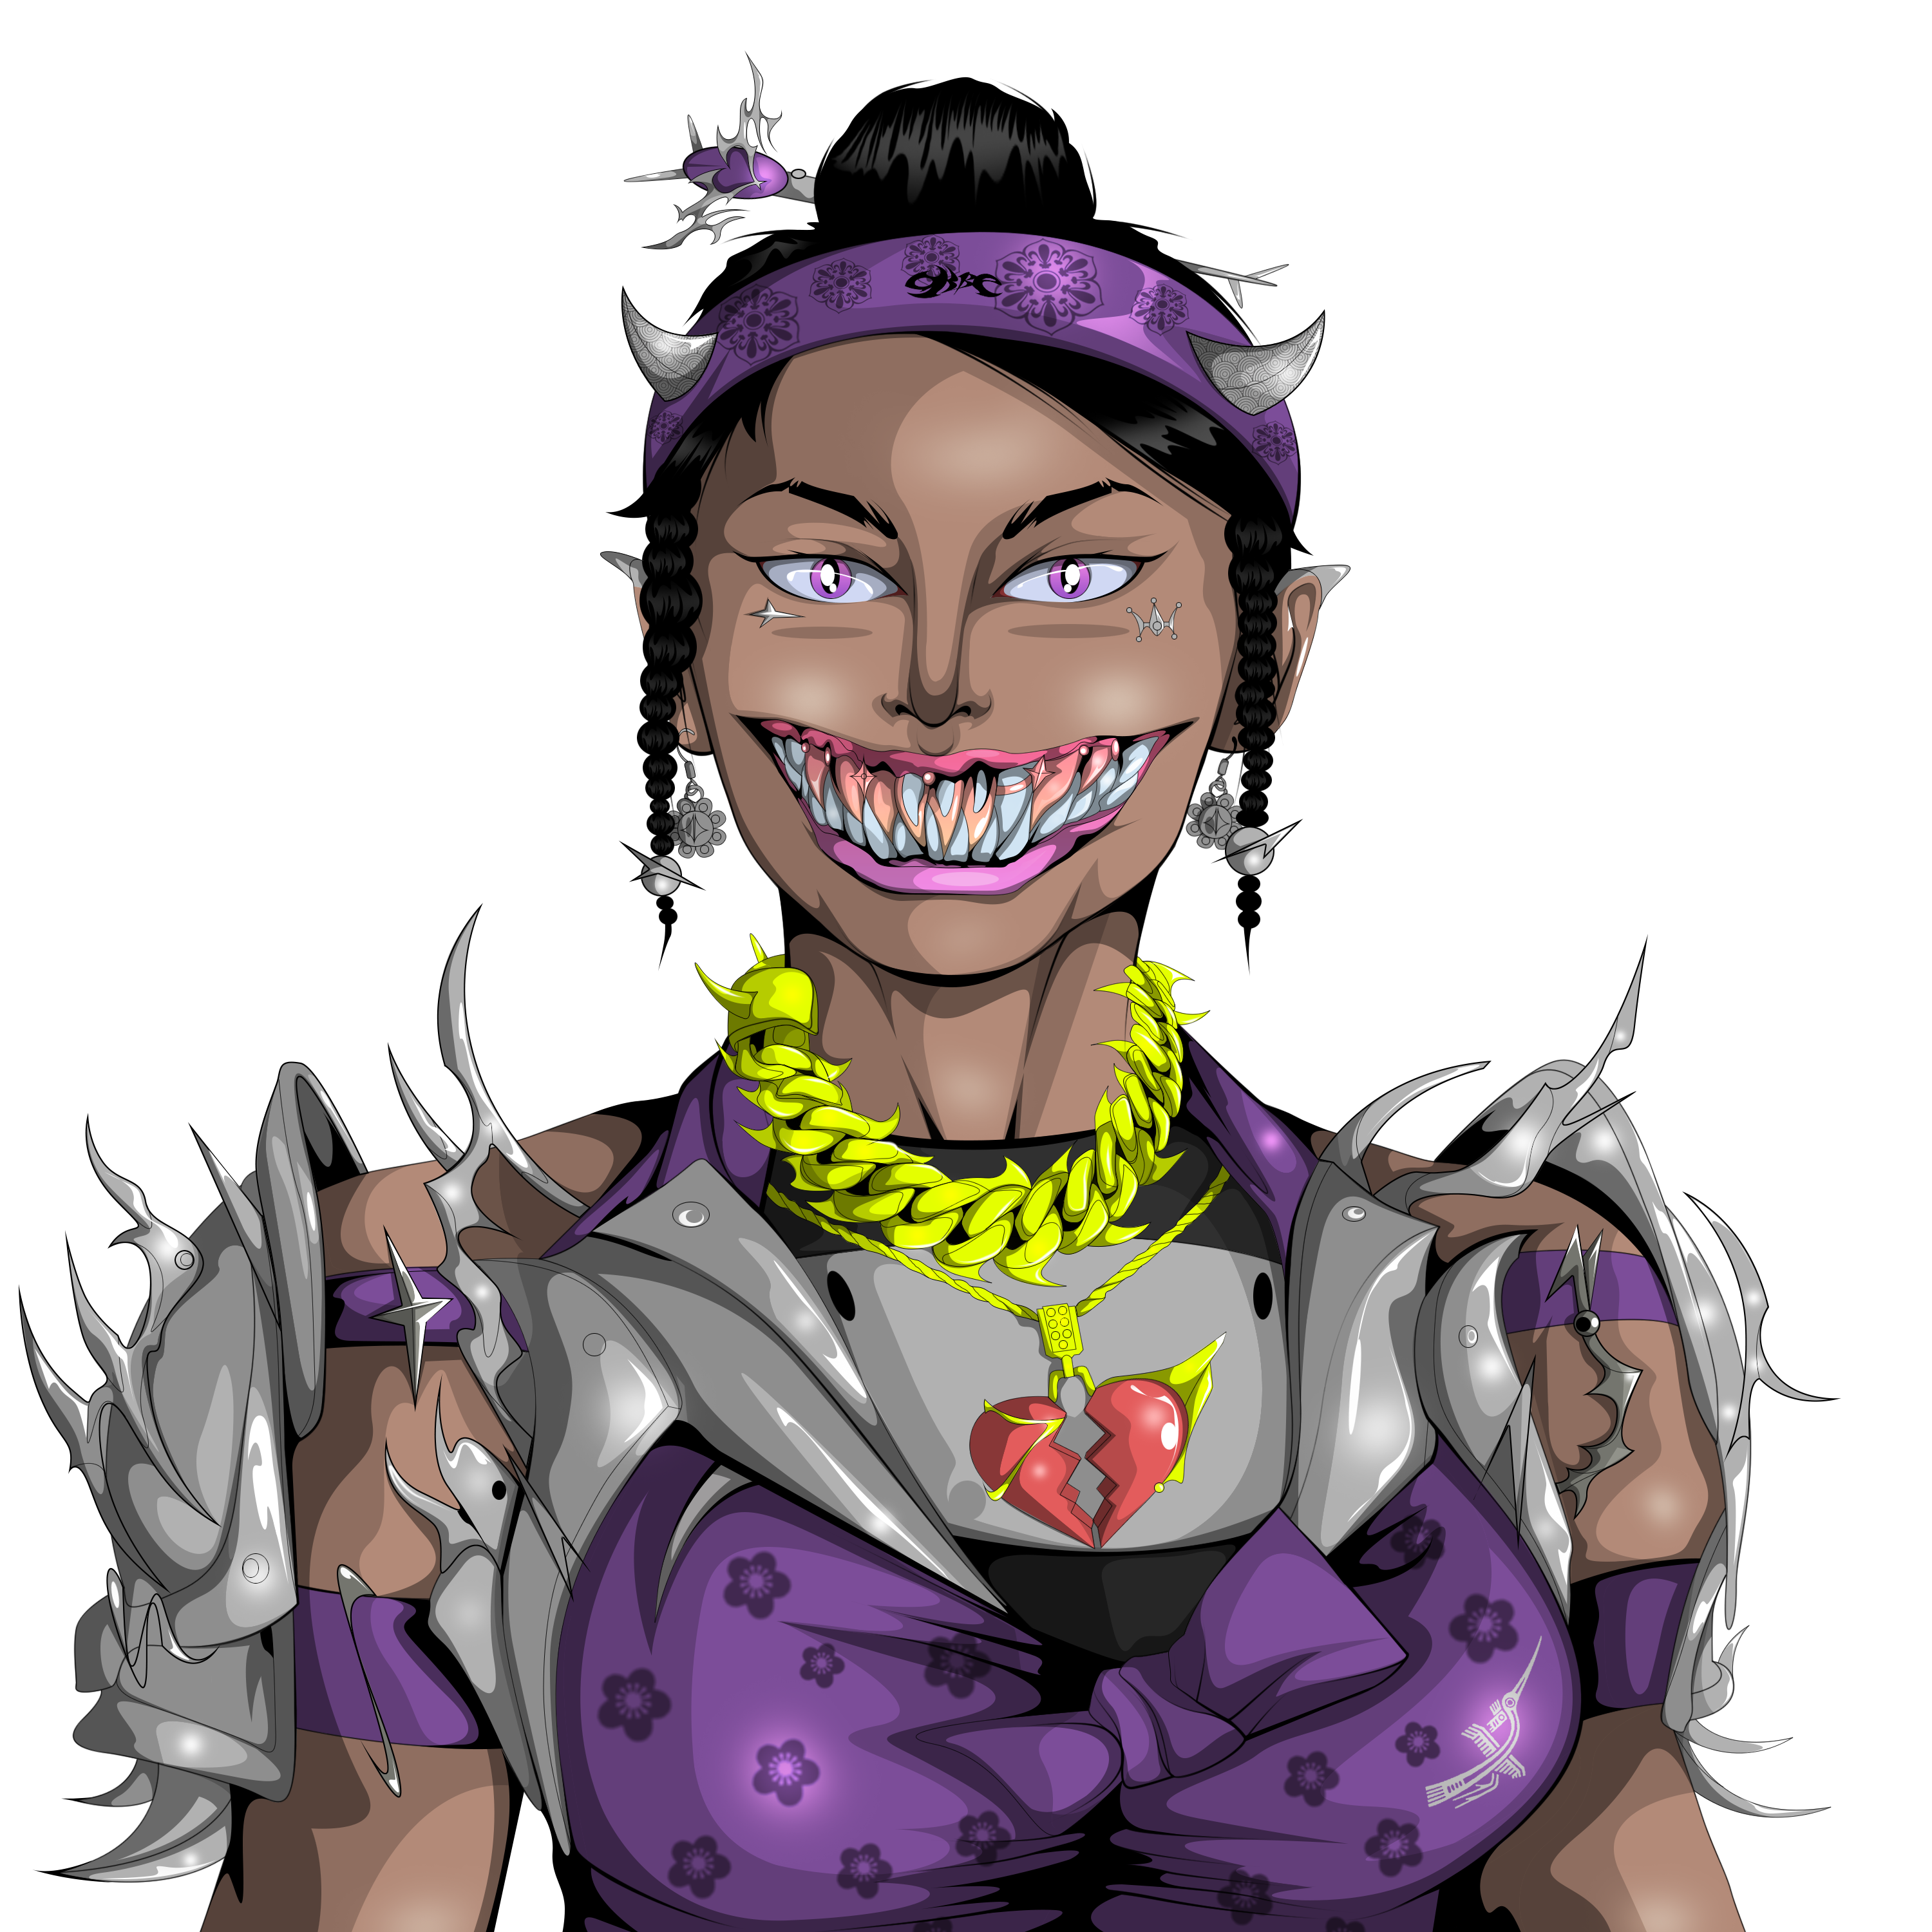
Fourthly, I add my favorite colors to the artwork. Beside that i would like to put more patterns and graphics into my character. If you honestly pay attention at the art, you can feel how i describe the marterial for every parts of the character ( metals / farbics / skin / eyes / … )
STEP 4
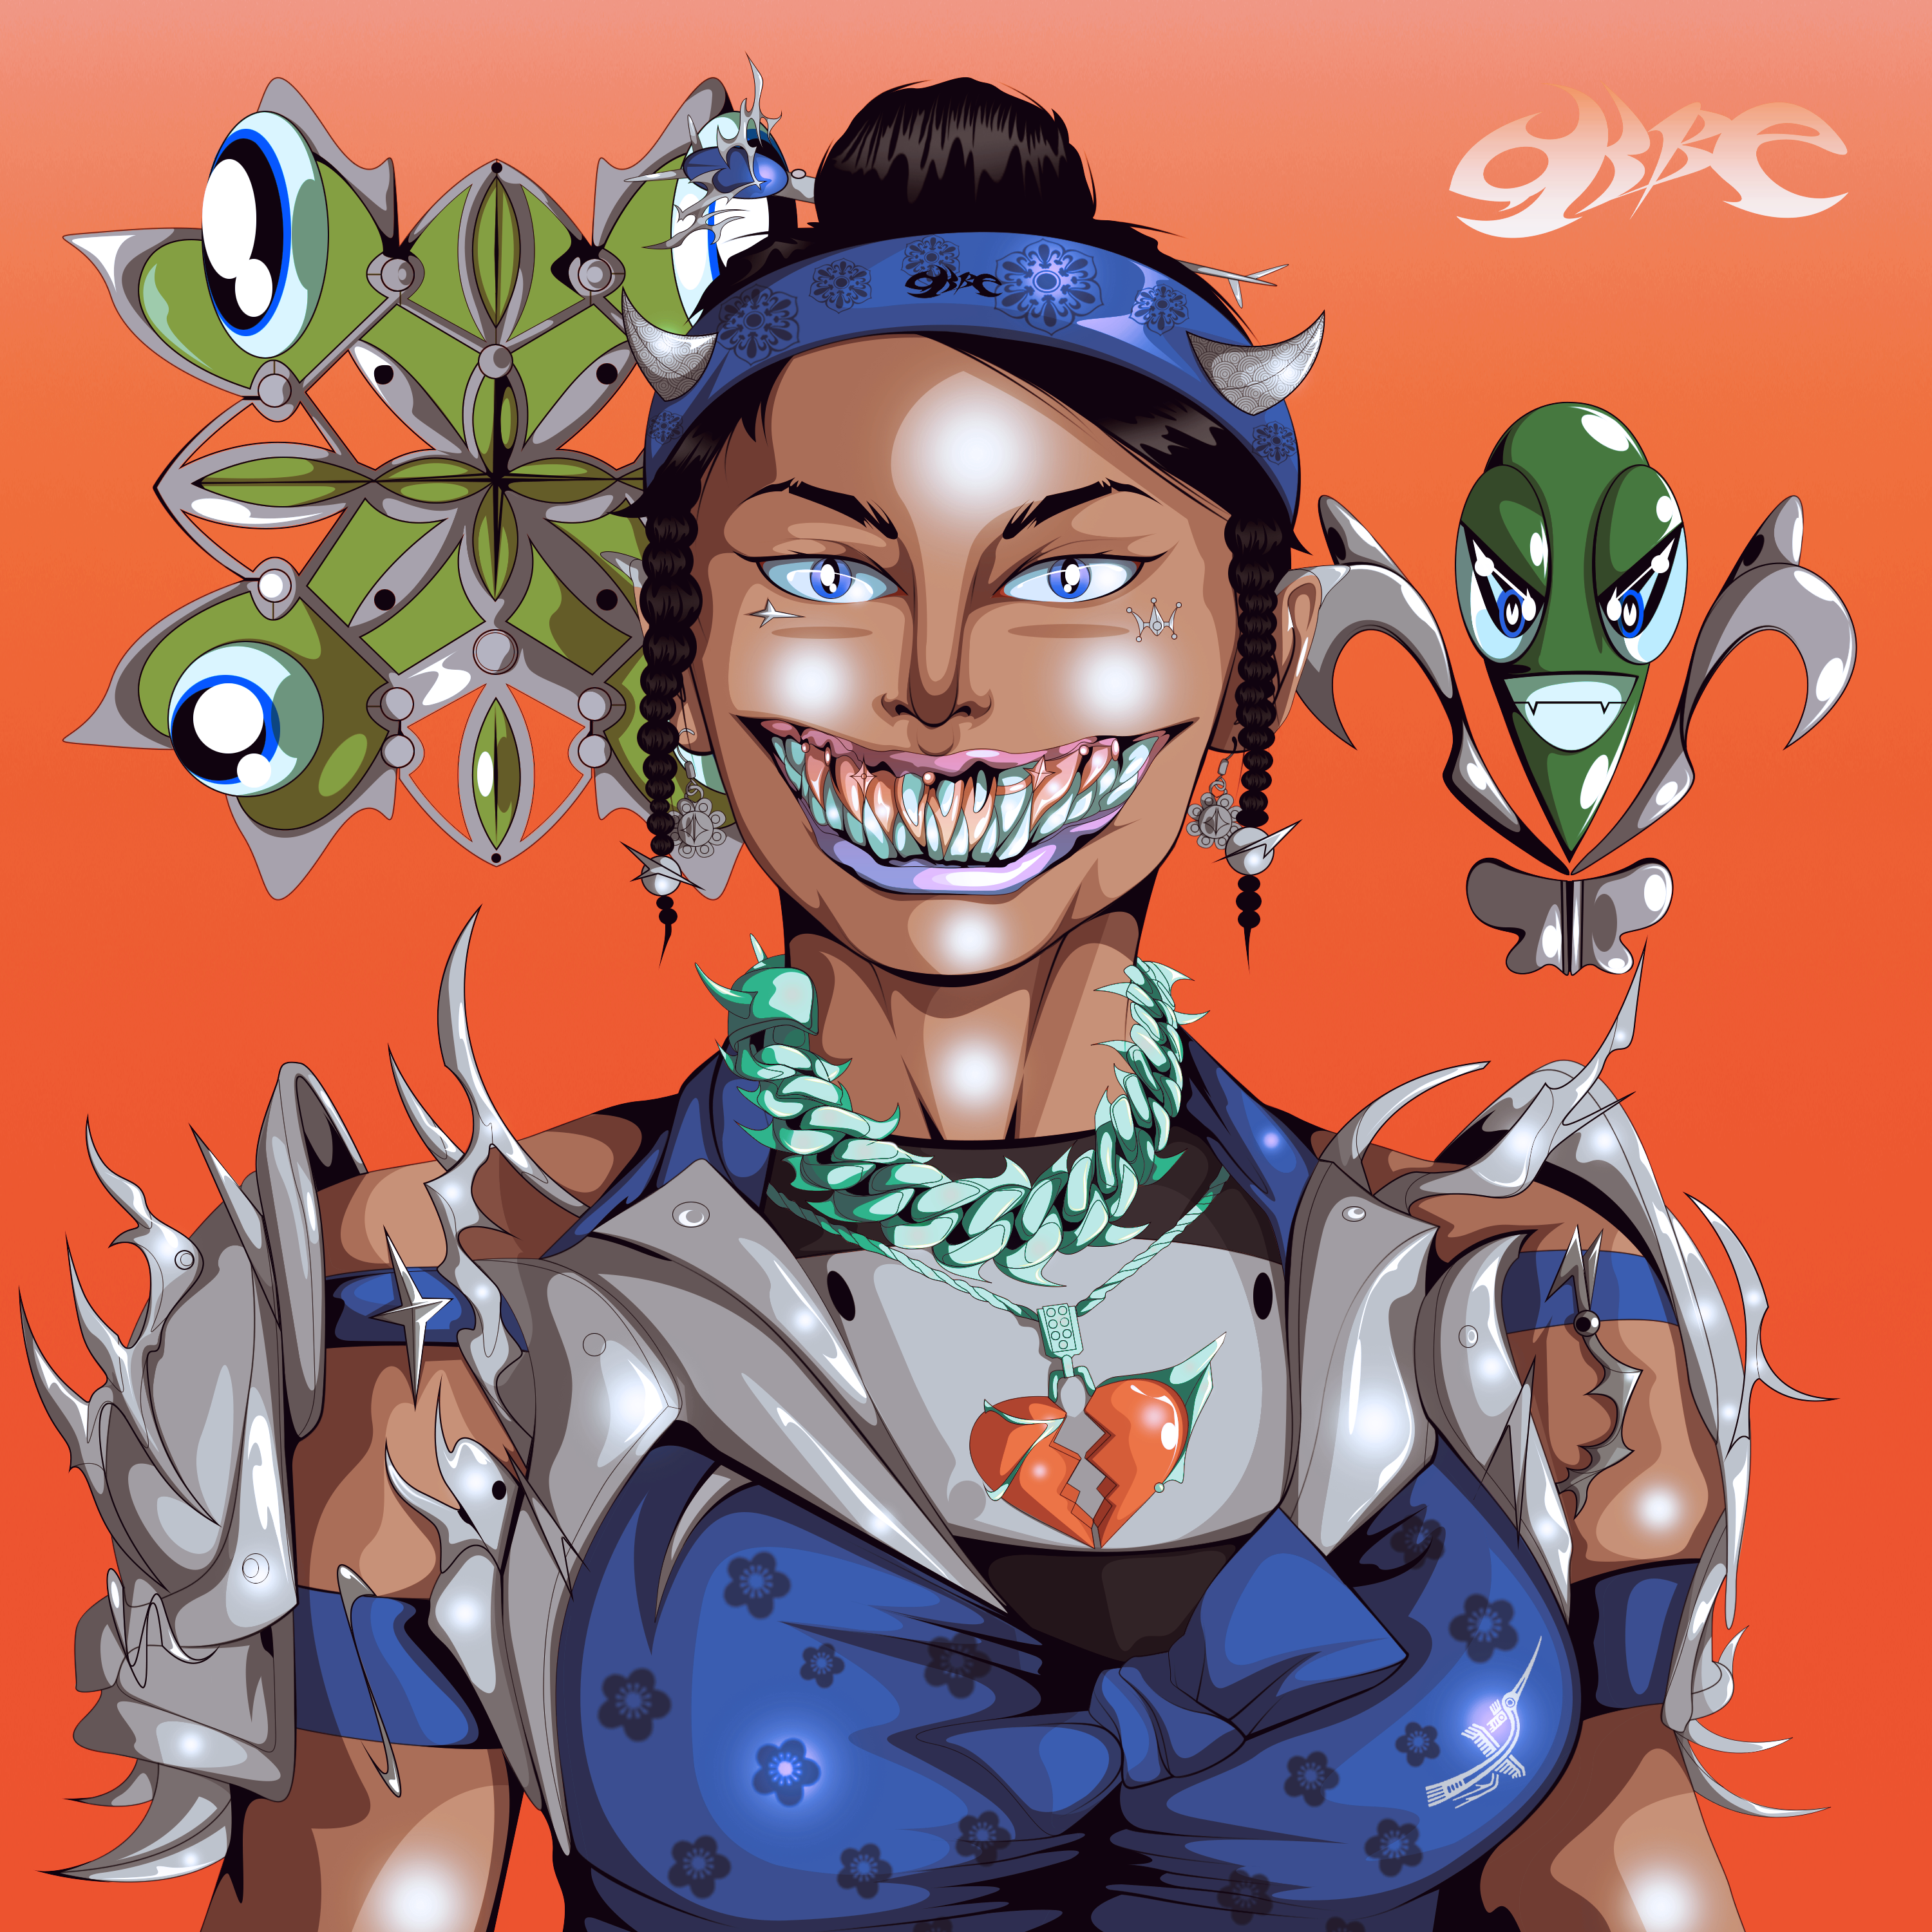
Finnally, I refine everything and mix or fix the color by using adobe photoshop in some – Adjust / Hue / Light / Color Blend … – Options. I also add more mini characters to fill up the empty space. That’s all for my Anime 2D process ! Hope you like this and see you in my next blog !
